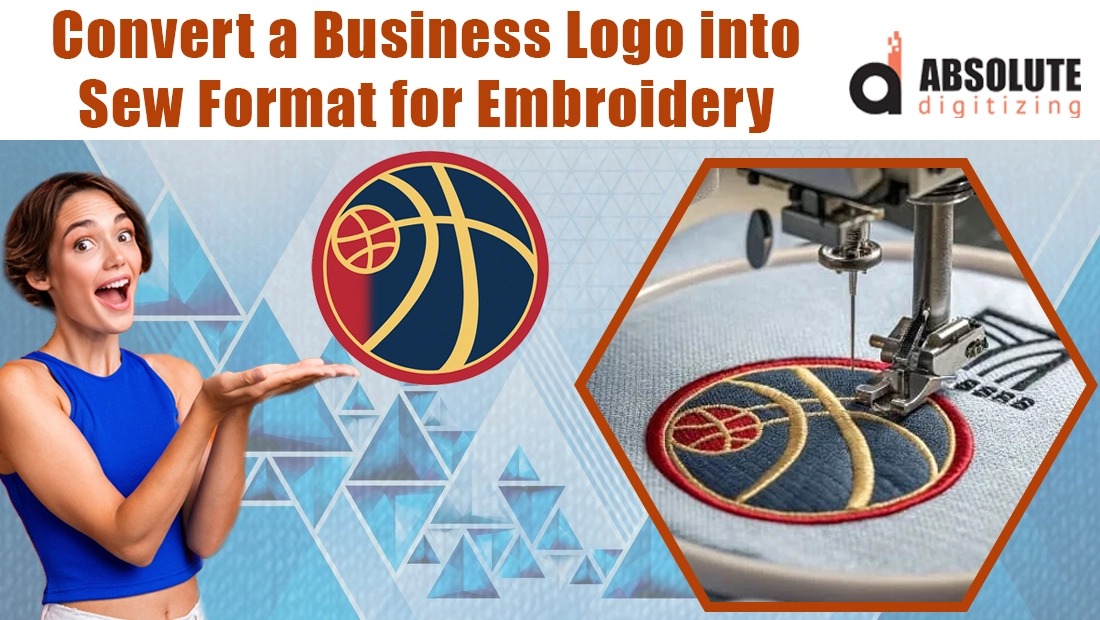
If you own a Janome, Elna, or Kenmore embroidery machine, you already know the SEW format is the golden ticket that makes your machine sing. It’s tiny, it’s fast, and it stores every color stop and trim exactly the way Janome likes it. The problem? Most logos floating around the internet are JPGs, PNGs, or DSTs, and when you try to force them into SEW, the results range from “meh” to “total disaster.” The good news is that converting a logo to SEW isn’t hard once you stop treating it like a generic file format and start treating it like a Janome-native language. Here’s the exact playbook pros use so your logo stitches out crisp, centered, and without a single thread break when you convert logo to SEW file format.
What Makes SEW Special (and Picky)
SEW isn’t just a container; it’s a Janome-specific instruction set. It remembers exact thread brands, color order, hoop size, and even whether the machine should trim after a color change. DST or PES files can run on a Janome, but they lose all that delicious detail. That’s why a properly made SEW file finishes 20–30 % faster and looks noticeably cleaner.
Start with Artwork That Doesn’t Suck
Your logo needs to be:
- Vector (SVG, EPS, or AI) if possible (crisp at any size)
- At least 1000 pixels wide if it’s raster
- No blurry gradients, drop shadows, or 47 tiny colors
- Clean, closed shapes with no overlapping junk paths
If your designer handed you a 200-pixel PNG from 2010, run it through VectorMagic or Illustrator’s Image Trace first. Garbage in, garbage out.
Choose Software That Actually Speaks Janome Fluently
These programs export bulletproof SEW files:
- Janome Artistic Digitizer (native and idiot-proof)
- Hatch Embroidery (excellent SEW export)
- Wilcom EmbroideryStudio (pro level, perfect SEW)
- Embrilliance Essentials + AlphaTricks (great for text-heavy logos)
- Embird with the SEW plugin (budget winner)
Skip random online converters; they butcher color order and underlay.
Clean and Simplify the Vector
Open the SVG in your digitizing software and:
- Merge overlapping shapes of the same color
- Delete stray nodes and microscopic details
- Thicken any line thinner than 1.5 mm (turns into unreadable mush)
- Reduce total colors to 8–12 max
Janome machines hate busy files.
Digitize Like a Janome Owner, Not a Generic Shop
Auto-digitize first, then fix the Janome-specific quirks:
- Satin columns for text and borders (4–7 mm wide)
- Tatami fills with 0.40–0.45 mm density on cotton, 0.50–0.55 mm on fleece
- Edge-run + zigzag underlay on every object (Janome knits swallow designs without it)
- Pull compensation 0.3–0.5 mm so circles stay round on stretchy polos
- Short stitches (2.5–3 mm) in tight curves
Match Real Janome Thread Colors
Open the Janome/Robison-Anton/Madeira chart inside your software and click the exact thread you stock. The SEW file will display the correct thread name on your MC15000 or Skyline screen instead of “Color 14.” Your future self at 11 p.m. will thank you.
Optimize the Path Like Your Sanity Depends on It
Watch the stitch simulator. If the needle is jumping more than a caffeinated frog, reorder objects so same-color sections connect. Combine shapes that share thread even if they’re visually separate. Janomes trim beautifully—just tell them when.
Save the Right SEW Version
Janome machines read SEW and JEF interchangeably, but SEW is smaller and faster. When saving:
- Artistic Digitizer → File → Save As → SEW
- Hatch/Wilcom → Export → Janome SEW
- Embrilliance → Save Stitch File As → SEW
Pick the highest version your machine supports (most current Janomes love the newest SEW).
Test Stitch on the Actual Garment Fabric
Every single time. Hoop a scrap of the exact polo, hat, or towel you’ll use. Run the design. Check registration, puckering, and whether small text is readable from three feet away. One test now saves ten ruined blanks later.
Bonus Pro Hacks for Logo Work
- Build a SEW template with your favorite density, underlay, and pull-comp already dialed in. Every new logo starts perfect.
- Left-chest logos: keep under 10,000 stitches total for speed.
- Add a tiny “ghost” outline in the same color as the garment for perfect placement on dark shirts.
- Batch convert an entire brand kit (front, sleeve, hat versions) in ten minutes once the master is done.
Common Mistakes That Make Janome Owners Cry
- Digitizing a 400-pixel JPG without cleaning first
- Forgetting underlay on performance wear
- Exporting to DST “because it’s universal” (loses all Janome-specific goodies)
- Tiny text under 5 mm tall with no column widening
Your Logo Deserves Better
Converting a logo to a flawless SEW file isn’t about praying to a sketchy website. It’s about feeding Janome the cleanest artwork, digitizing with Janome-specific settings, and testing like the logo is going on the company founder’s jacket. Do it right once and the whole process drops under thirty minutes. So grab your next logo, run it through this checklist, and watch your Janome turn vectors into stitches so clean people will think you outsourced to a $50-an-hour digitizer. Spoiler: you didn’t. You just followed the pro playbook.
Leave a Reply